Your Cart is Empty

Business Card Holder Tutorial

Here we are for another merry-go-round post: eleven women blog about one topic, each from her own point of view. This month, a tutorial.

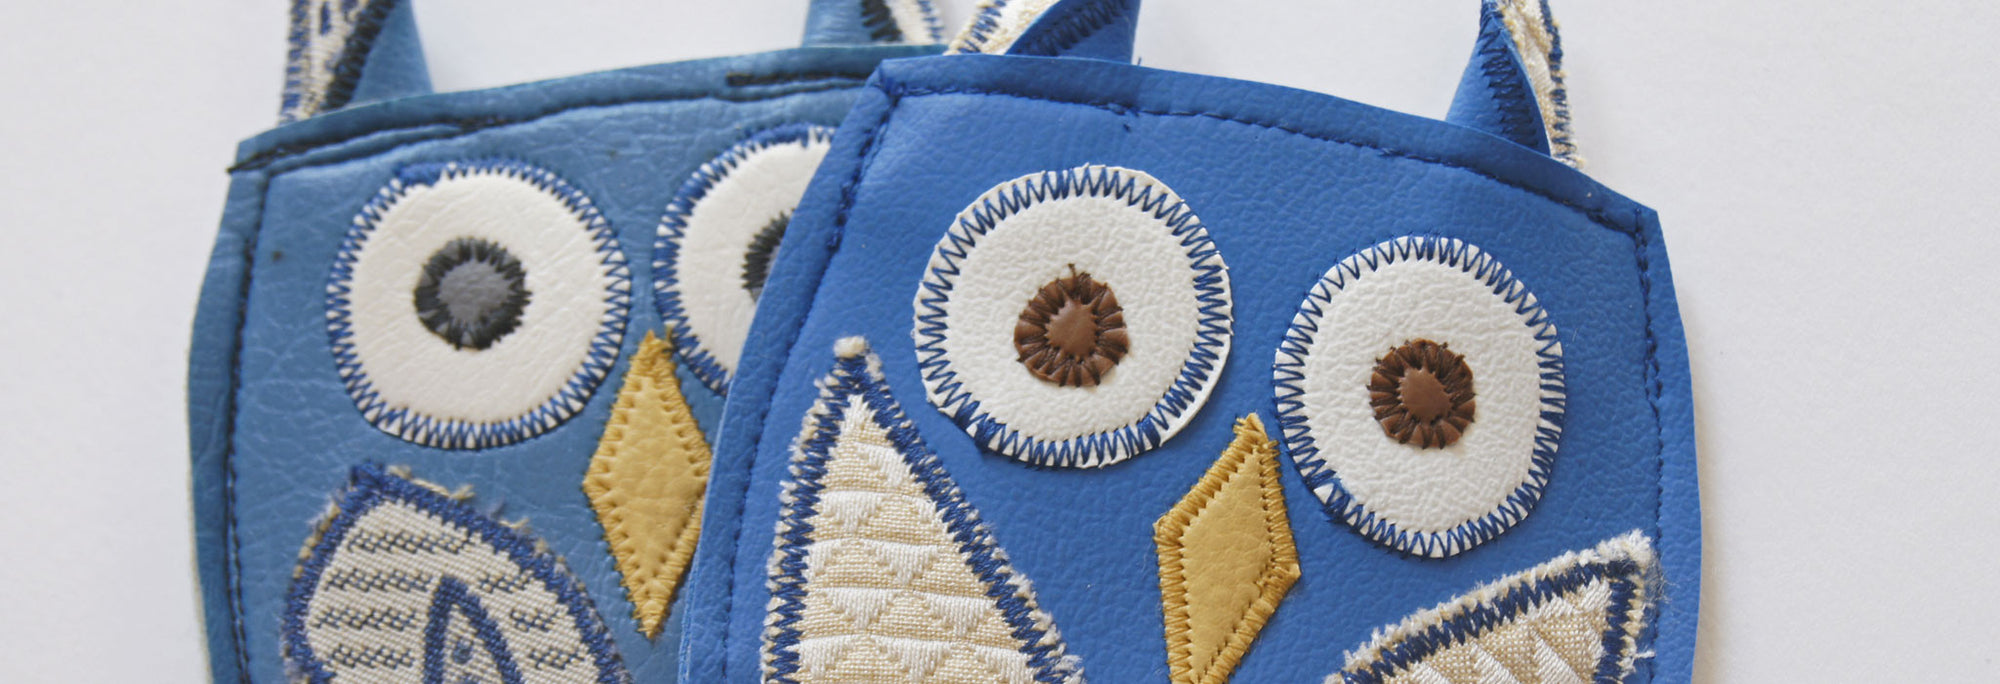
Why an owl? Well, I make animal art, so it goes well with my theme. If your business has anything to do with animals, this is perfect. Are you a pet groomer, birdwatcher, dog walker, zoo keeper, animal trainer, lion tamer? Use the pattern as is, or alter it for an animal closer to your line of work or lifestyle.
I’ve prepared a PDF tutorial with a pattern that you can download.
In this post, I’ll just give you the basic instructions. If you’re interested, go on over to my freebie page and download the instructions and pattern.
So, let’s get started!
Materials:
I used fake leather scraps which I buy online in the form of sample catalogs. Here’s a great source for fake leather pieces:
If you have fabric scraps in your sewing basket, you can cut some of the features from those. I’ve used fabric for the wings in this tutorial and the ‘ear’ linings.
I used felt to face the upper body section. It covers the back of the ‘ear’ tufts and gives a clean finish to the back of your holder.
Here’s what you need to cut:


From there, in just five easy sewing steps, you’ll have your card holder. (Instructions are beneath the corresponding photo)


1. Sew the eyes, pupils, beak and wings onto the front above the fold line using a zig zag or straight stitch.


2. Line the ‘ear’ tufts placing a fabric piece against a fake leather piece, wrong sides together. Stitch around the edges with a zig zag stitch. Do this for both tufts.


3. Fold the tufts in half towards the side marked ‘outside’. This side will be on the outside of the owl’s head. Stitch in place.


Then, attach the tufts to the top of the head. I placed them about 1/4 inch from the outside edges and they extend about 7/8 inch at the top of the head.

 This is what they look like from the front.


4. Sew on the felt facing to the back of the head, stitching across the top about 1/8 inch from the edge.


5. Fold the card holder crosswise on foldline and stitch up the sides about 1/8 inch from side edge.


Reinforce the top edges as they will get a lot of wear and tear as you put your cards in and take them out.


And there you have your owl business card holder with your cards snug inside!

 If you’d like to see and try more amazing tutorials, check out the other members’ posts!
We are from different time zones, so don’t forget to come back if the post isn’t up yet.
Samantha at Vintage is for Lovers
Leave a comment
Comments will be approved before showing up.
Also in News

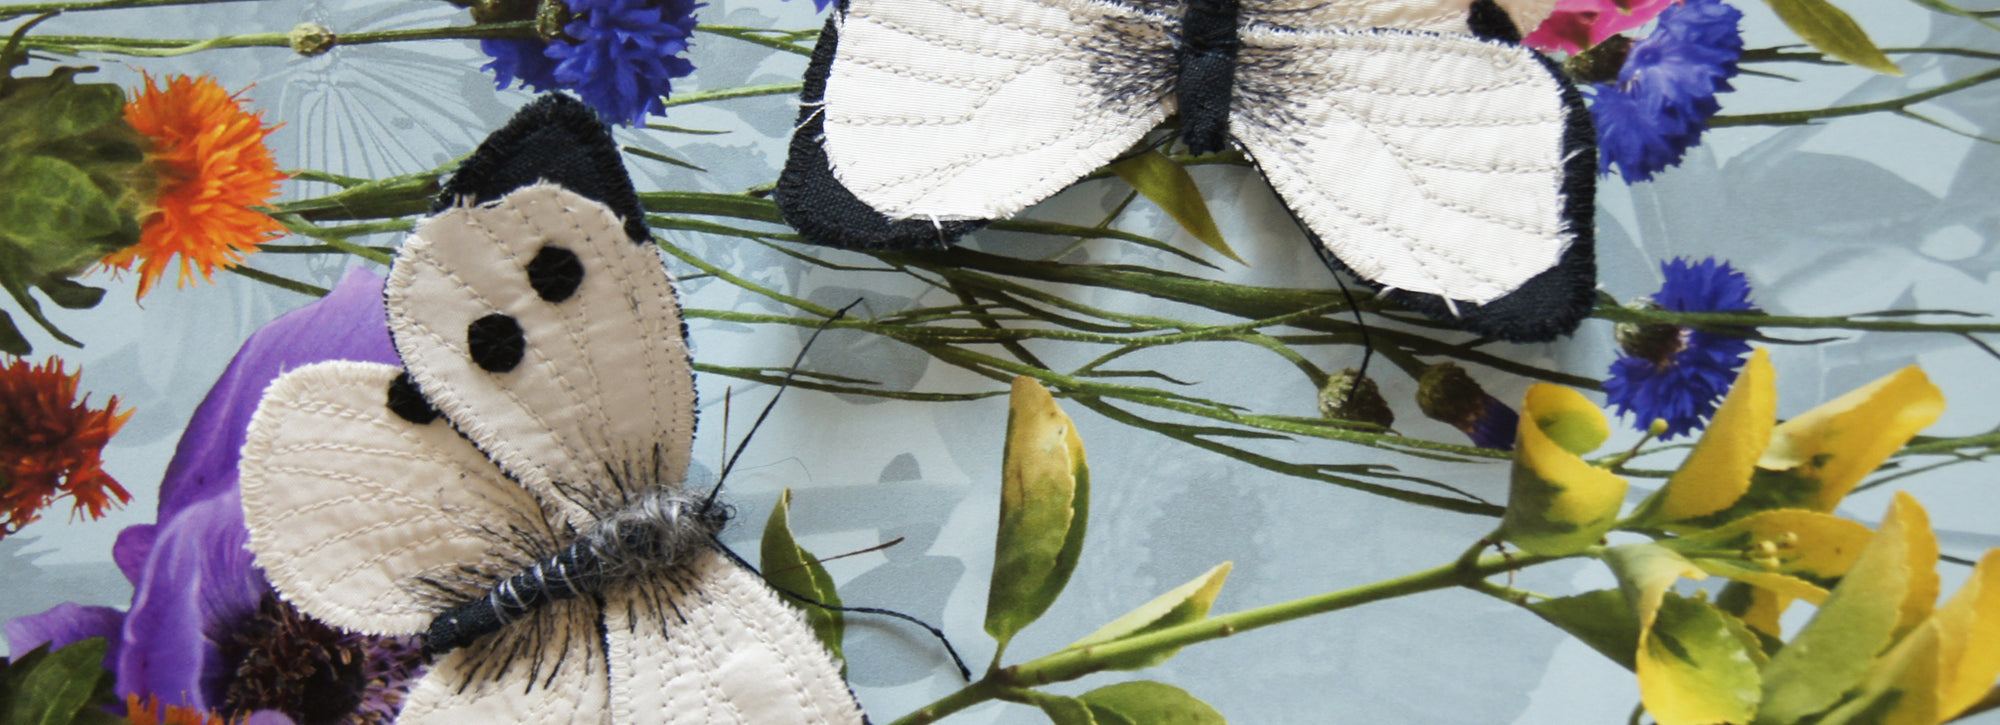

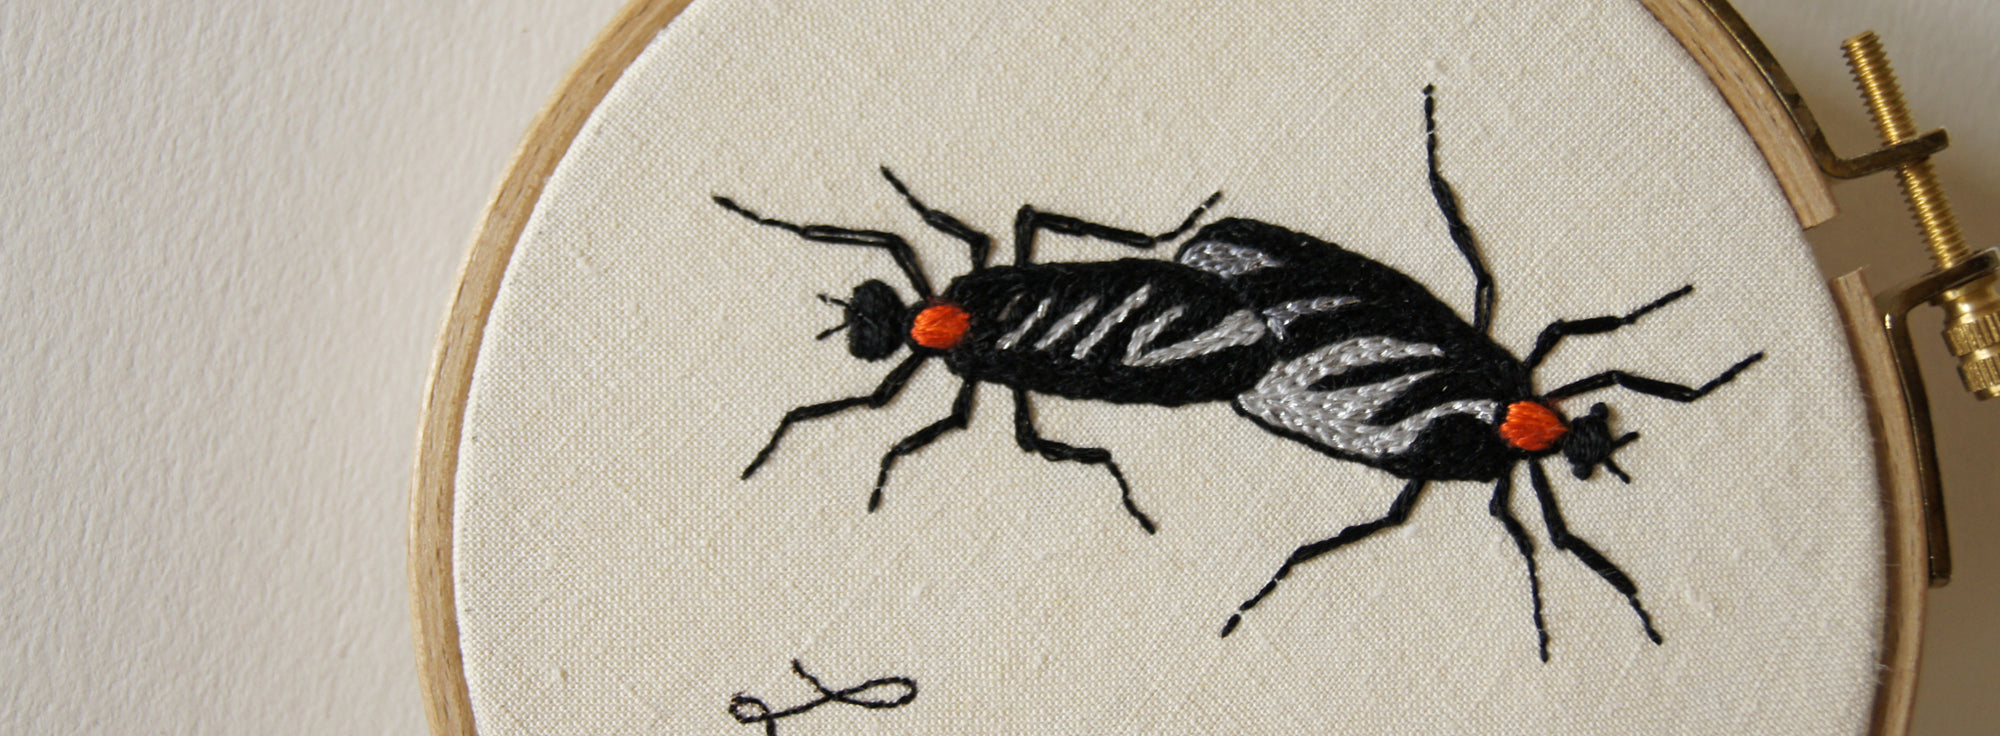
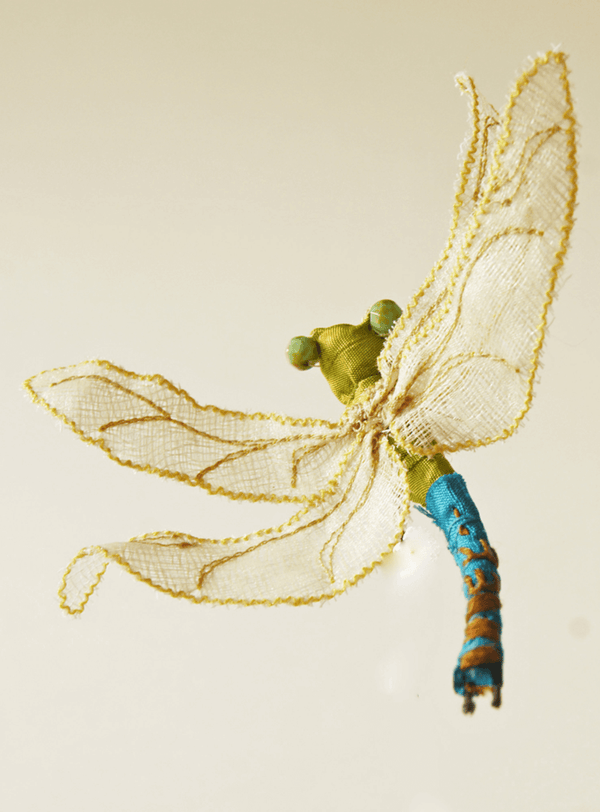
Lupercalia and lighthearted love bugs
Since many of us are nudged towards expressing our love through gifts in mid-February (admittedly, we can use all the gifts we can get, or give ourselves, these days) I thought it might be the moment to offer you a lighthearted embroidery pattern.
Read More

Tell & Show
A fear of messing up and wasting the viewers’ time came back each week, until I noticed that it felt fun to get on camera.