Your Cart is Empty
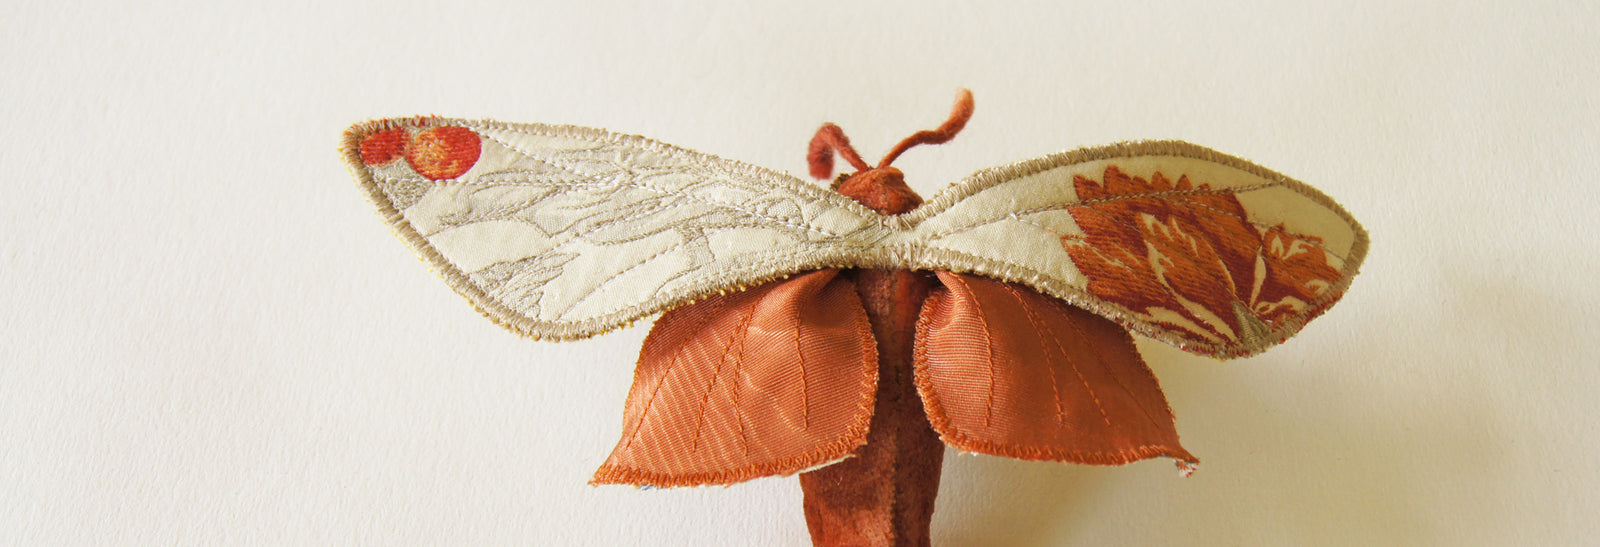
Fabric Moth Tutorial Part 1
October 06, 2020
Hello ! I’m so glad you’re here.
So you want to create a moth, a larger-than-life fabric moth made from your own fabric stash, all those fabrics you’ve been collecting, plus the leftover scraps from various projects and the bag of remnants your aunt brought over to the house last month.
This project is not about buying more fabric, it’s about putting together fabrics you already have and creating a harmonious and beautiful moth.
Click here to download your free PDF pattern.
Why moths? What’s so special about them?
Well, they are Lepidopterans, just like butterflies, but while butterflies have come to represent spring’s arrival, sunny days and positivity, moths are more mysterious, many of them being night flyers, hiding in the shadows by day. Butterflies are associated with bright colors while moths tend to have more furry feathery textures. Not always, of course! There are black butterflies and bright yellow moths, for example.
All lepidopterans undergo complete metamorphosis, and they are all symbols of rebirth, undergoing change, getting through a tough time (in the cocoon or chrysalis) and coming out transformed!
I personally love the textures, the mystery, the colors of the (mostly) night creatures we call moths.
And I am here to help you create your very own fantastical moth, in your choice of fabrics, colors and details. I just provide the pattern, the step-by-step instructions to help you get your moth made.
Supplies/Tools
If you sew, you probably have most of these:
Pinning/cutting/sewing
Sewing machine
Scissors – embroidery + shears
Pins
Embroidery needles sizes 3-9
Embroidery needles for your machine (optional)
Marking/measuring/drawing
Seam gauge
Clear plastic ruler
Frixion pen
Dressmaker’s tracing paper & Tracing wheel
Conté crayon or chalk marker
Tracing paper for drawing (optional)
Fabrics from your stash: Upholstery fabrics/decorator fabrics/canvas/burlap/velvet/heavyweight linen or cotton
Any other sturdy fabrics with interesting colors/patterns/texture/flocking, etc.
Threads:
I used
- Gutermann polyester thread for edging, sewing flat pieces together
- button craft thread for assembling the moth body and wings
- Decora rayon machine embroidery thread for the veins (optional)
- DMC 6 strand embroidery floss for embroidering the eyes
- a piece of waxed cotton string for the antennae
Stuffing:
I use polyester fiberfill, or you can use wool stuffing.
For hanging your creation
Metal curtain ring or any metal or plastic ring measuring ½ - ¾ inches in diameter (1.5 – 2 cm)
Plus a painting hook or nail.
So, let’s get started !
1. Fabric and tone
I wanted my moth to be elegant and mysterious, so I chose the dark tapestry remnant, which is also thick enough to stiffen nicely when I add layers of other fabrics behind it.
A black linen body would add to this elegance. I used a thick linen since it has to hold the weight of the wings once it is stuffed. You could use canvas, decorator fabric, even velvet.
For the underwings, I wanted them to be a solid color to contrast with the floral motif of the upper wings. Either a blue or a light green satin to pick up the colors in the tapestry. These are small samples I got from an upholsterer. A tiny piece of lots of amazing colors!
I finally went with the light green for contrast, to soften the darkness of the tapestry.

I also wanted to make a second moth, this time with a more playful feel to her. I chose another upholstery fabric, this one not as thick as the tapestry. It has a large repeat, so I knew the upper wings wouldn’t look exactly the same, and I like the asymmetry. I picked up the orange in the florals by using an orange satin for the underwings. And for the moth ‘furriness’ I chose an orange velvet.

Stiffener
In an effort to use only what I had in my stash, I began using burlap a while ago, as a layer in between the main fabric and the backing, to add some rigidity to these rather large outspread wings. Without stiffener, they may droop.
You might also use canvas, or cotton duck, or buckram, which is fabric soaked in a sizing agent. Color doesn’t matter, as we won’t see it.

Backing
I use closely woven canvas or other sturdy decorator fabric. You can use a solid, or a print to make the back pretty.

2. Cutting
As the adage goes, “Measure twice, cut once.”
It may not be as important as it is with cutting into fabric to make clothing. But if you have only a tiny bit of fabric, just be careful of the placement.
Body
Using two layers of fabric, pin your body pattern piece to your fabric. I placed the long side of the body parallel to the selvedge, or the lengthwise side of the fabric.

I then traced around the edge with a light gray Conté crayon, marking an arrow and the letter ‘T’ to indicate the top, the side that will face upwards and become the back of the moth’s body.

For the velvet, I pinned the pattern piece to two layers of the velvet and then cut around the edge.

Wings
The upper wings can be cut in two ways.
- You can take the pattern piece as is from the paper pattern you printed, and folding your chosen main fabric in half, place the pattern (which looks like just one wing, but when unfolded will be two) on the fold and cut around the edge. Unfold to reveal two upper wings connected to each other in the middle.
- The other way, which I use, is to retrace the pattern onto a folded piece of tracing paper first, placing the small part on the fold. Unfold to reveal your two wings, then place this tracing paper pattern on your fabric. You can see where your pattern or motifs will appear on your wings, and this gives you more control of the final moth. These upper, outstretched wings will be a focal point of your creation.


The underwings are cut in two separate pieces. I simply folded over my little scrap of satin and pinned my pattern in such a way as to use the least fabric. (green satin)

Stiffener + backing
You’ll also need to cut your upper wings in burlap or other stiffener, same as above, so that you have the same shape of double wings joined in the middle.
And likewise, cut this shape again from your chosen backing fabric.
At this point, you’ll have three double wings: Main fabric, burlap, backing. You will sew these together in a later step to get sturdy wings for your moth.
The underwings don’t need stiffener, they can be a little more fluttery. You will cut out backing for these small wings in the same way you cut your main underwing fabric, by folding over your backing fabric and pinning, then cutting around the edge of your underwing pattern.
All the pieces
You now have all your pieces cut.
Here’s a list:
Double upper wings, 3 pieces (main fabric, stiffener, backing)
Underwings, 4 pieces (2x main fabric + 2x backing fabric)
Body, 2 pieces (body piece cut 2x in same fabric)


In the photos, I have already pinned the burlap to the wrong side of the yellow the backing fabric, to avoid the burlap coming unraveled.
That’s part 1. Join me back here shortly for part 2 in which you will sew and stuff your moth’s body and then sew the upper wings.
See you soon.
Leave a comment
Comments will be approved before showing up.
Also in News
Dear garden
February 22, 2021
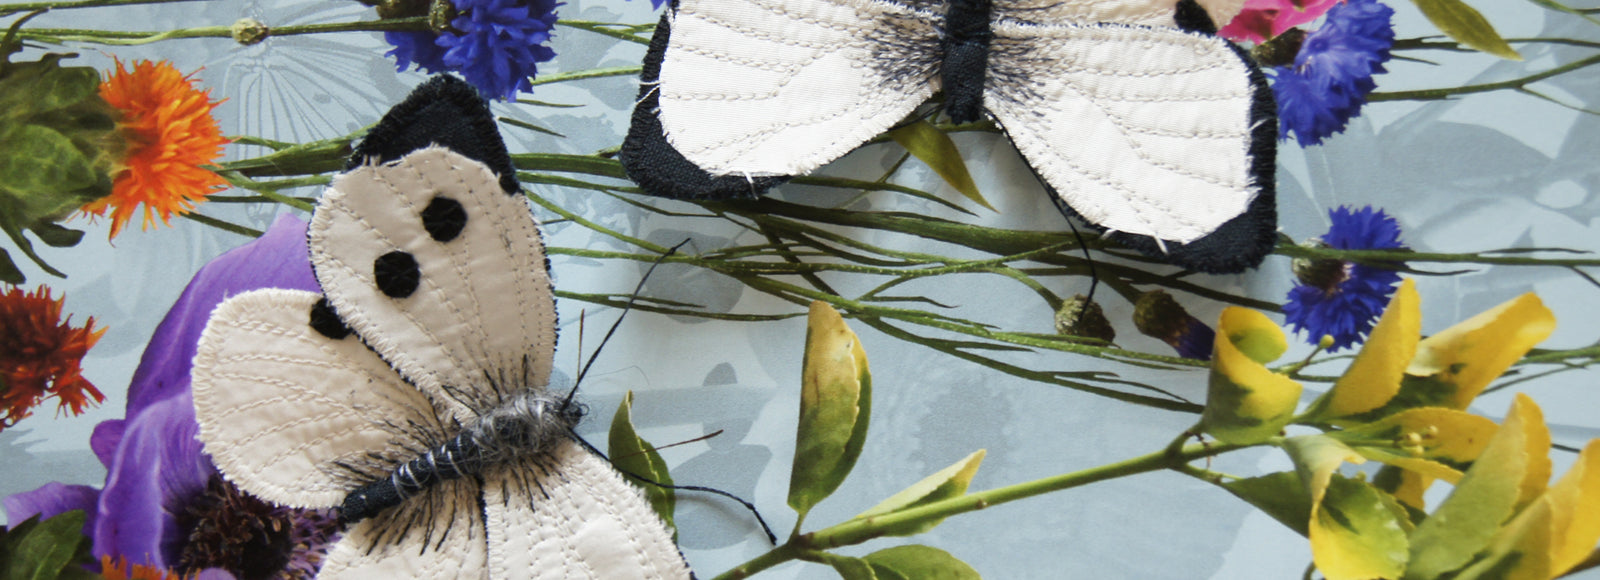
And today, she felt agile and unfettered.
No longer leaf-bound.
Lupercalia and lighthearted love bugs
February 12, 2021
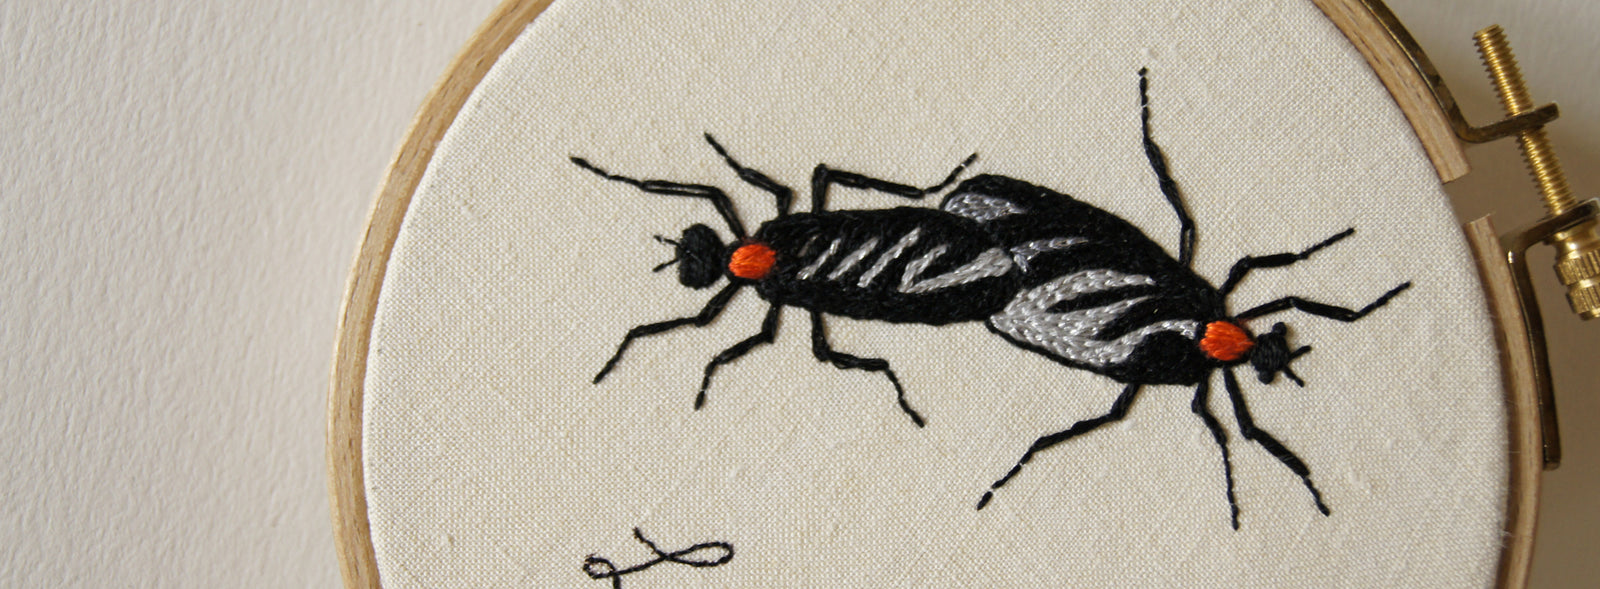
Since many of us are nudged towards expressing our love through gifts in mid-February (admittedly, we can use all the gifts we can get, or give ourselves, these days) I thought it might be the moment to offer you a lighthearted embroidery pattern.
Read More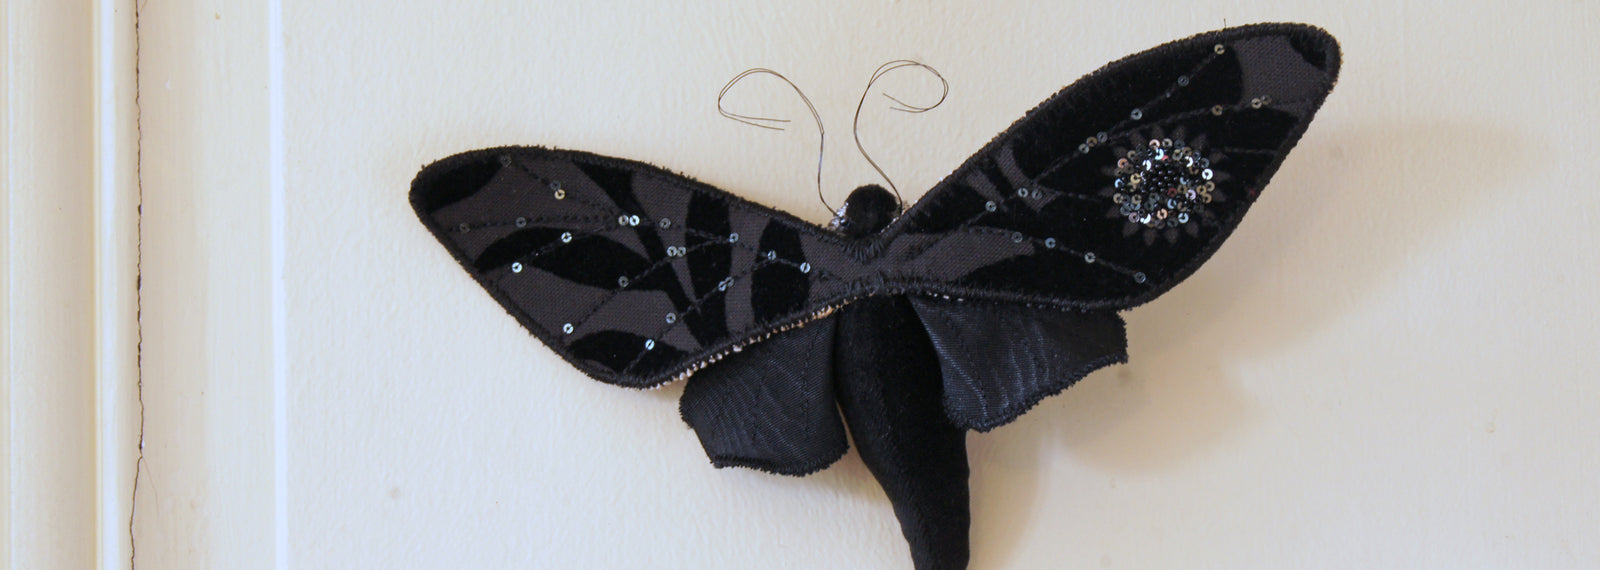
Tell & Show
January 25, 2021
A fear of messing up and wasting the viewers’ time came back each week, until I noticed that it felt fun to get on camera.
Subscribe
Sign up to get the latest on sales, new releases and more …
Recent Articles
- Dear garden February 22, 2021
- Lupercalia and lighthearted love bugs February 12, 2021
- Tell & Show January 25, 2021
- Slow Stitching December 07, 2020
- The Sphinx by Edgar Allen Poe November 01, 2020
- Fabric Moth Tutorial Part 4 October 06, 2020
- Fabric Moth Tutorial Part3 October 06, 2020
- Fabric Moth Tutorial Part 2 October 06, 2020
- Fabric Moth Tutorial Part 1 October 06, 2020
- Bullies, butterflies and other beasts May 07, 2014
