Your Cart is Empty

Fabric Moth Tutorial Part3
Hello! Welcome back. Let's dive right in to part 3 of the tutorial.
Click here to download your free PDF moth pattern
We had finished sewing the body and the upper wings, so now let's make the underwings.
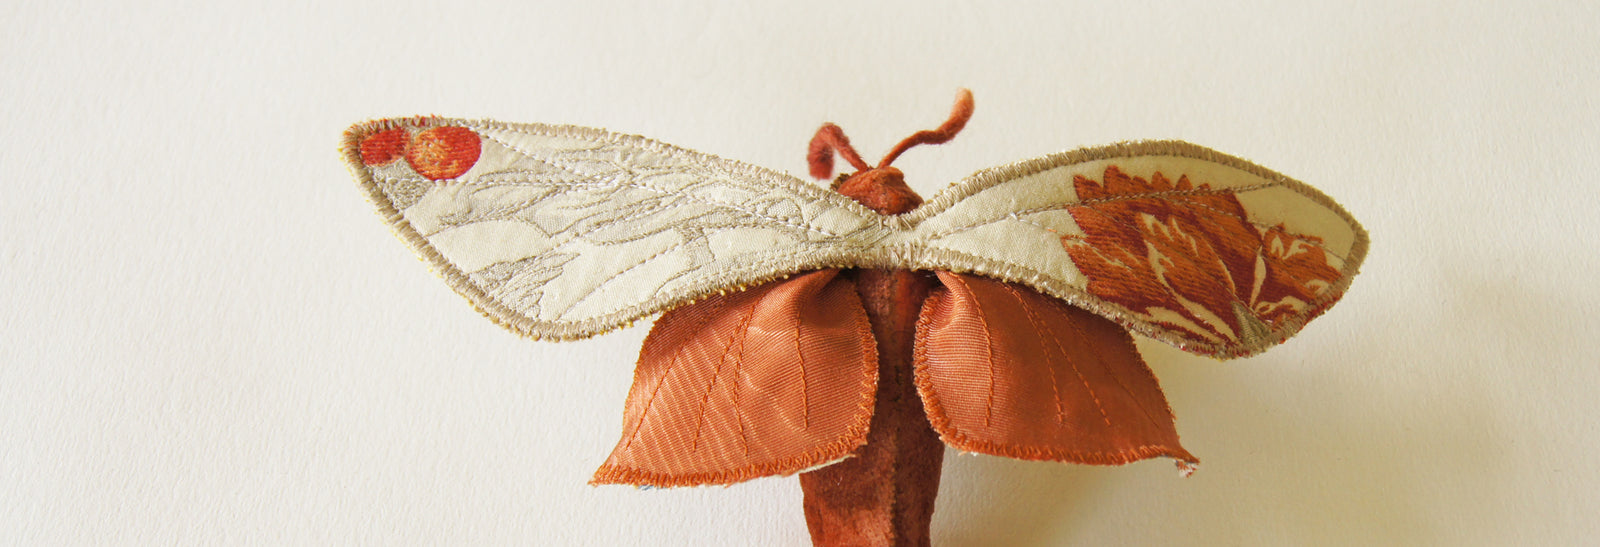
(The text refers to the photo beneath it.)
Sewing the lower wings (underwings)
Choose thread for your underwings. I've used a matching green, but you could choose a contrasting color, or a darker shade of the same hue as your fabric.

Pin your main underwing fabric to the backing.

Starting at the top, stitch around the edges with a long zigzag stitch, removing the pins as you go.

The back:

(For the demonstration, I have stopped after the first zigzag stitching on the outer edges of the wings, to show the long zigzag stitch, but I usually don't stop or cut my threads.
After stitching all the way round once, I change the stitch length to a closer stitich, and continue round for the second time.)
Stitch once more around with a shorter zigzag stitch (the stitches are closer together).

For the veins of the underwings, which are much simpler, I stitched them in a straight stitch without marking them on the fabric first.
If you need a line to follow, you can use the pin prick + frixion pen method that I showed you for the upper wings in part 2. Or you can draw the veins on freehand with your frixion pen. Remember that once you've sewn the veins, you can remove the pen lines with your iron on low setting. Use a pressing cloth if your fabric is fragile (satin, silk, flocked, velvet, etc).

Next, fold the upper edge in half as shown, and pin.


Stitch across upper edge with a zigzag stitch. And you've finished your underwings.


Assembly
Now it's time to assemble all the parts. We'll start with the upperwings.

Decide where you'd like the upper wings, leave a little of the "head" showing. Using long pins, I pin across the wings and also straight down through wings and body.


In order to hide the knots, I pass my threaded needle, beginning on the underside, up through the body and into the upper edge of the upper wings.
I use a doubled length of Cordonnet (button craft thread) and a #4 or #5 embroidery needle.

Hand sew the upper edge of the upper wings using a whip stitch. I begin in the center, after coming up from the underside, then whipstitch about one cm to the right and one cm to the left of center. Make your whipstitch the same size as your zigzagged edge stitch, and use the same color thread so that these hand stitches blend in.
Staying on the top of the moth, pass the needle under the middle of the wings, through the body and out near the lower edge.

Attach the lower edge of the underwings in the same manner (whip stitch) as you did the upper edge, stitching about 0.5 cm on either side of center.

Once you've finished attaching the upper wings, sew back down to the underside of the body. If you had a shorter length of thread, you can do this step in between the upper and lower edge attachment.

Tie off your thread and snip.

Now you'll attach the lower wings.
Pin your right underwing to the body just under the right upper wing. You can push a pin straight through the wing and body.

Pin the second underwing to the left side in the same manner. Lift up the upper wings to check that the wings are evenly placed.

Using a whipstitch, sew each wing to the body. Begin by coming up from the underside of the body, do your whipstitch and finish by going back down underneath to tie off your thread.
I used the Cordonnet thread (button craft thread) for strength. The lighter color thread is easier to see in this demonstration, otherwise I would have used black.


Stitch the lower wing to the upper wing close to the body, using a close whipstitch and without going through to the front of the upper wings. Your stitches should just catch the backing fabric. A few stitches will suffice. This is an added stabilizer for the wings. Along with the three layers of upper wings, this will help your wings stay in an outstretched position and not droop.

You've nearly made it to the end! In part 4, you'll give your moth further definition and individuality by adding eyes and antennae.
If you're like me, and you do your sewing projects in short spurts when you have some time for yourself, then before going on to part 4, you can have a look through your supplies. Find some string, cord, fiber, wire or feathery trim that would make good antennae for your moth, in keeping with your tone. Choose a color of embroidery floss for her eyes. Will they contrast with her body? Will they be shiny and metallic? Bright, light or dark?
See you soon for the final part 4.
Click here to download your free PDF moth pattern.
Leave a comment
Comments will be approved before showing up.
Also in News


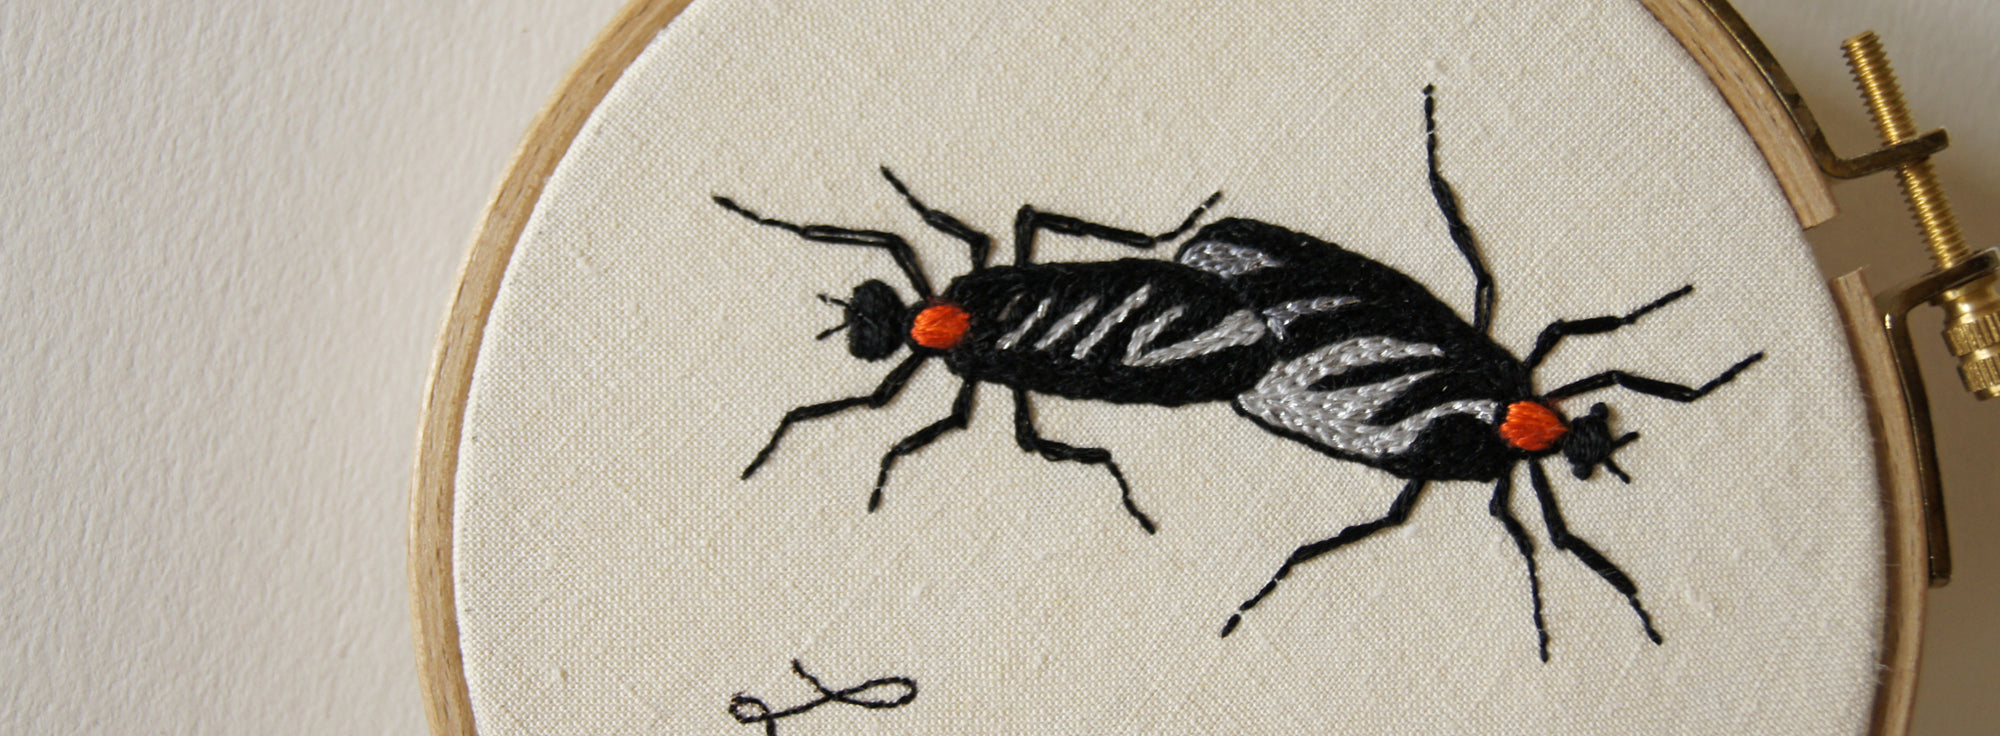
Lupercalia and lighthearted love bugs
Since many of us are nudged towards expressing our love through gifts in mid-February (admittedly, we can use all the gifts we can get, or give ourselves, these days) I thought it might be the moment to offer you a lighthearted embroidery pattern.
Read More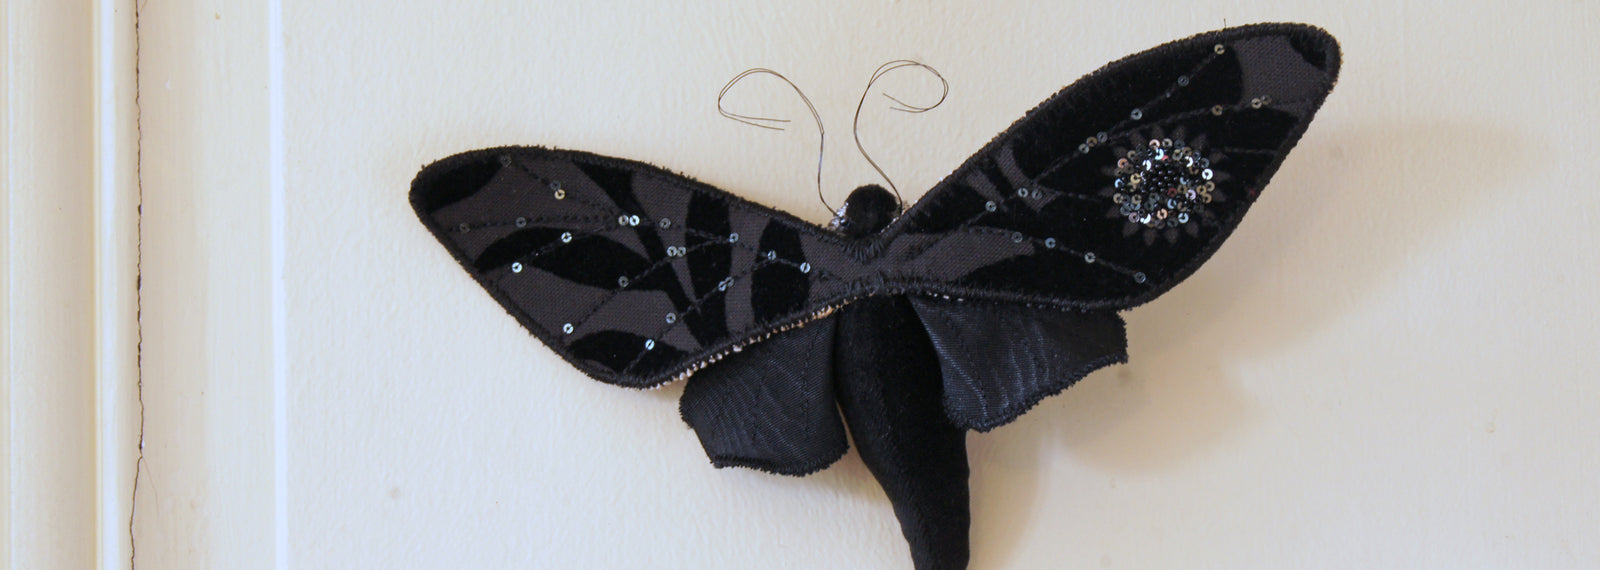

Tell & Show
A fear of messing up and wasting the viewers’ time came back each week, until I noticed that it felt fun to get on camera.