Your Cart is Empty

Fabric Moth Tutorial Part 4
Hello there! So glad you've followed this tutorial to the last post!
If you haven't downloaded your pattern yet:
Click here to download your free PDF moth pattern.
You are now ready to work on the details of your moth. There are many details we could add, but since this is a basic pattern, I'm just going to show you how I add eyes and antennae.
You might also wish to add more embroidery, fur, more facial features, etc. I will defnitely show you how I add those elements, plus legs, in a future online course.
(The text refers to the photo beneath it.)
Embroidering the eyes
One way of getting the eyes in the same position on both sides of the head is to use pins with round heads, insert them where you want your eyes to be and adjust them until they are even.

Next, using a chalk pencil (Conté crayon or similar), draw a circle around each pin head.

I stitched my eyes in a raised satin stitch as follows:
I used four strands of DMC cotton embroidery floss, choosing a color that would be visible on the black linen. Coming up from the underside again, stitch the chalk contour using a backstitch.

Then fill in the contour with small seed stitches in order to create a raised texture.

Proceed in the same manner for the other eye.

Here's a video showing the backstitch and seed stitches for the eye, if you'd prefer to see it in action.
Finally, stitch your satin stitch over your eyes, covering the backstitch and the seed stitches.
The Antennae
Choose a piece of cord, trim or wire for your antennae. Anything that adds texture and goes with your tone of your moth. I considered thin cotton cord, braided cord,and feathery trim.

I chose the cotton cord because I like the elegant look.

I cut a length of approximately 5 inches. You could go shorter if your chosen material would droop at a long length. On the other hand you might choose to make very long antennae from wire, which would hold its shape well.

Fold your cord in half and place it just above and between the eyes.

I used regular sewing thread to sew on the antennae cord.
Beginning as usual underneath the body, push your needle and thread up through the body to the point of placement of the middle of your cord, above the eyes.

Place the middle of your cord at the placement point, and holding it with one hand, stitch the cord to the head with a few stitches, in the center, with at least one or two stitches going through the cord, so it won't pull out from either end.

Stitch back down to the underside of the body to tie off your knot.

Display
You could indeed display your moth in any number of ways, stand it on a shelf or mantelpiece, make it the central figure in a shadow box, add it to your other curiosities in your cabinet, or hang it right on the wall, next to your botanical prints, or above your beloved indoor plants.
I'm going to show you how I add a ring so that I can hang mine on the wall.
First, I sew a small rectangle of felt over the knots on the underside of the body with a whip stitch.

You'll need a ring of some kind on the underside of your moth, to hang it on the wall by a nail or picture hook. You can use curtain rings, d-rings, belt rings, or you can make a small ring from wire or cord.

Sew your ring on with a close whip stitch at a level appropriate for your chosen method of hanging. This is a good placement if I'm hanging my moth from a nail. On the other hand, I would want to lower it if I hang it from a picture hook, so that the picture hook isn't visible above my moth's head. We're pretending she is just resting there on the wall, looking natural.

Bravo! You've finished your moth! Well done and I'm so glad you stayed until the end.
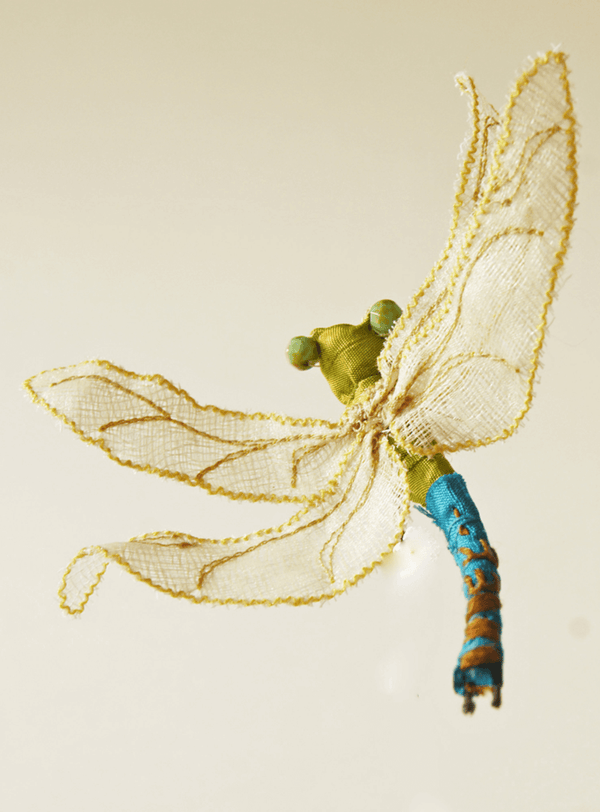
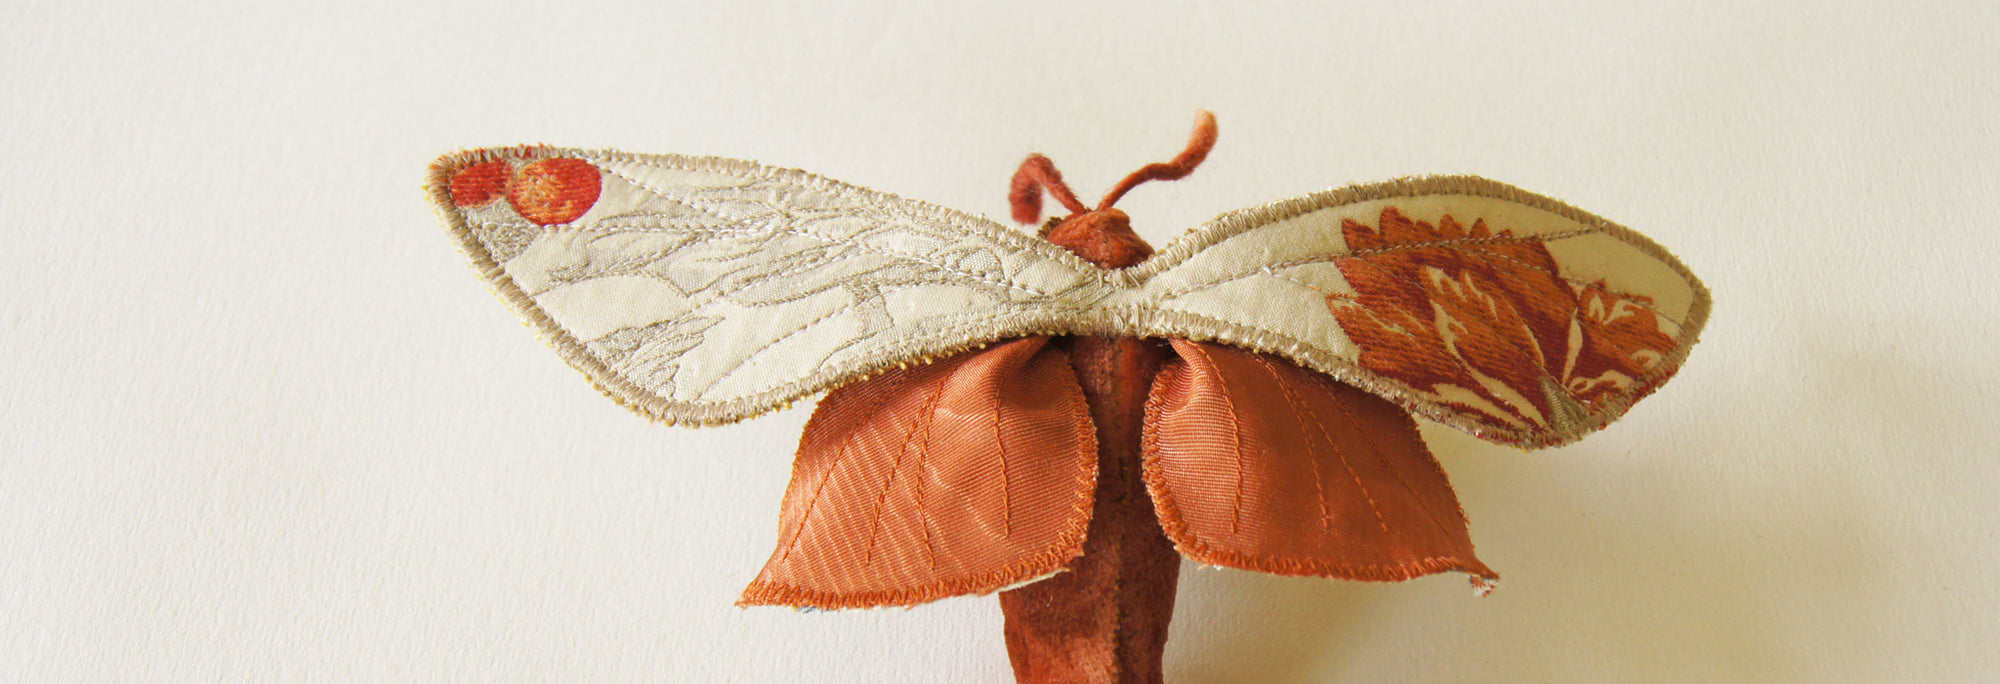
Below you'll see a couple of display ideas and I look forward to seeing how you display yours.


Leave a comment
Comments will be approved before showing up.
Also in News


Lupercalia and lighthearted love bugs
Since many of us are nudged towards expressing our love through gifts in mid-February (admittedly, we can use all the gifts we can get, or give ourselves, these days) I thought it might be the moment to offer you a lighthearted embroidery pattern.
Read More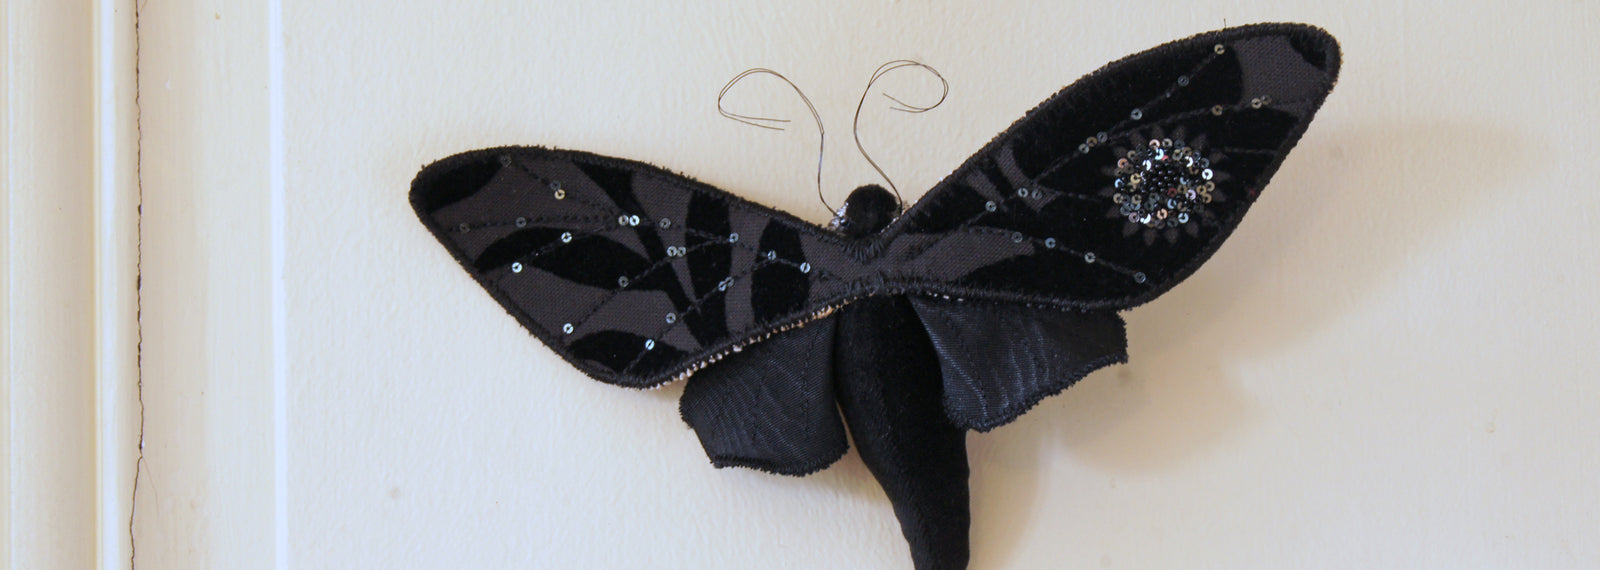

Tell & Show
A fear of messing up and wasting the viewers’ time came back each week, until I noticed that it felt fun to get on camera.