Your Cart is Empty

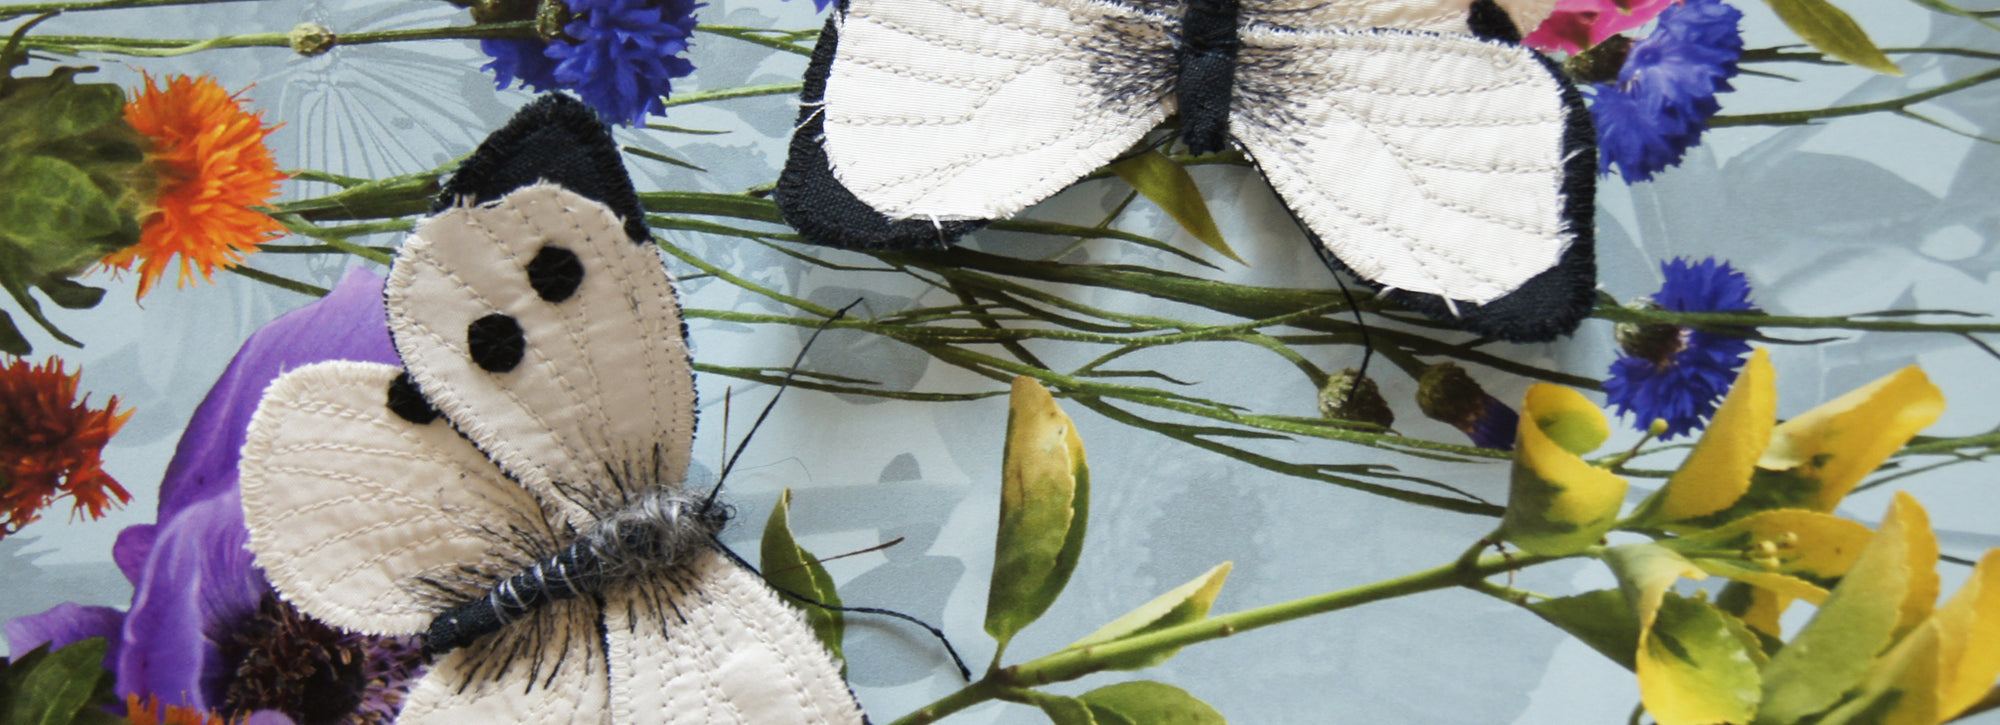
Fabric Butterfly Brooch in 5 Easy Steps

If you didn’t get the template in your e-mail, it’s on the freebie page.
And, if you'd like to make a larger moth, download your free pattern.
Click here for your PDF moth pattern.
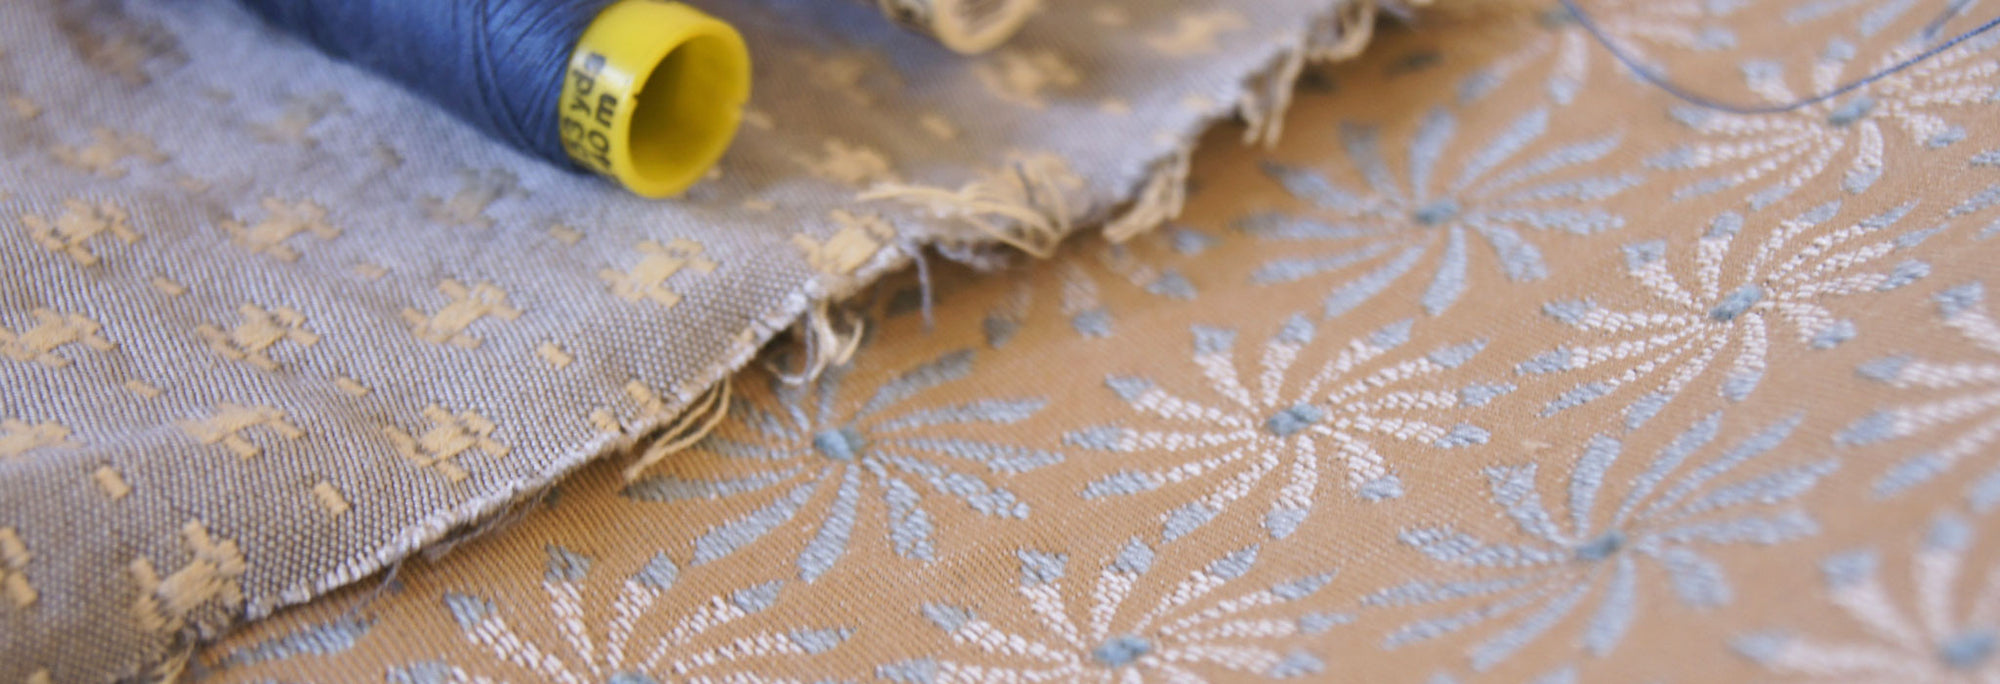
Supplies:You’ll need a pretty fabric for the front of your butterfly and another for the backing. Thread can be matching or contrasting. Then a slightly darker fabric for the body, a tiny piece, 1.5 x about 1.5 or 2 inches. Embroidery floss for the antennae plus one metal brooch clasp for each brooch, available at a jewelry supply store or craft shop.

I use sturdy upholstery fabric a lot, and for this project I chose one with silvery threads in it, shiny for the holidays! But you can use a softer fabric like silk, as long as you use a backing fabric that’s a little stiffer; it will hold its shape better and last longer.
• Step 1 Cut two upperwing pieces and two underwing pieces, one in each fabric.


You’ve got four pieces. Don’t forget to clip the underwing pieces to the top of the line drawn on the pattern, to make it look like two separate wings:


• Step 2 Pin and then stitch main fabric to backing and stitch veins.


I use a lot of pins to sew around the curves without messing up. I stitch once around, close to the edge using a wide zigzag stitch on a long stitch length, then continue around with the same width stitch, but closer together (shorten your stitch length). Practice on a scrap to see how you like it; this really depends on the finished look you want.


This is the first stitching. Then I stitched around twice more using the shorter stitch to get the dark blue outline I wanted.


For the veins, you can do them freehand, or you can mark them on the back and follow with the machine. You can also embroider them. I use the paper pattern and mark the veins with pins and follow the pins, like a connect-the-dots, connecting the point at which the pin enters the fabric. But I don’t know how Mother Nature gets those veins so symmetrical!


 I take the pins out as I go, starting with the middle vein as a reference; I left them in here to illustrate!
• Step 3 Sew upperwings and underwings together.
You can pin the wings together using the wing placement guide on the template. I straight-stitch along the bottom zigzag stitch to attach.


 And here’s a view from the back so far:

 • Step 4 Make and attach the body.
Butterfly bodies can be made from many different materials: pipecleaners, wire, cord, cord wrapped in fabric, anything really that might look like a body.
Especially for smaller bodies like this one, you can also roll fabric up to make a body. I cut a piece of upholstery fabric (but you could also use linen, silk, cotton, etc) 1.5 inches (about 4 cm) wide: that will be the length of your body. I cut it about 2 inches (about 5 cm) long, to have plenty to roll, but I ended up cutting off most of it, as my fabric was thick. Give yourself some extra to get the body thickness you like.
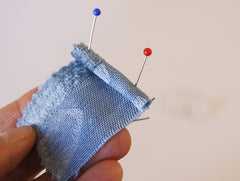
Roll to desired thickness and pin.


 When it’s as fat as you want it, cut off the excess and slip stitch the edge.

 Then, using the same thread, begin to wrap your thread around the body, not so tight as to flatten it, but to give it a realistic look. Wrap a few times, then take a stitch in the underside, then again several times.

I pull a bit tighter to mark a separation between the head and the thorax. Also, a few stitches at the end so it doesn’t come apart. Some loose fabric threads are fine, as some butterflies are a bit furry anyway.


Next, attach the body to the wings. Using the same color thread, I stitched from the back up through one side of the body, wrapped the thread around the body and stitched back down underneath on the other side, to the backing. Near the tail, in the middle, near the head.
 • Step 5 Details – Antennae and clasp
Using embroidery floss, I stitched the antennae, starting inside the rolled fabric. I stitched through two of the inside layers, but if your fabric might fray, you can go through all layers well away from the edge. Leave the thread out the length you want the first antennae, then stitch a few times into the head. Finally, cut the second antennae to the same length as the first.


 I make knots only at the very ends of the antennae.
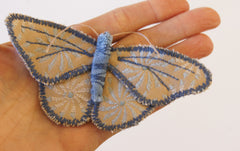
Almost finished! Just sew a brooch clasp onto the back, in the center, under one wing, however you think it would look best!


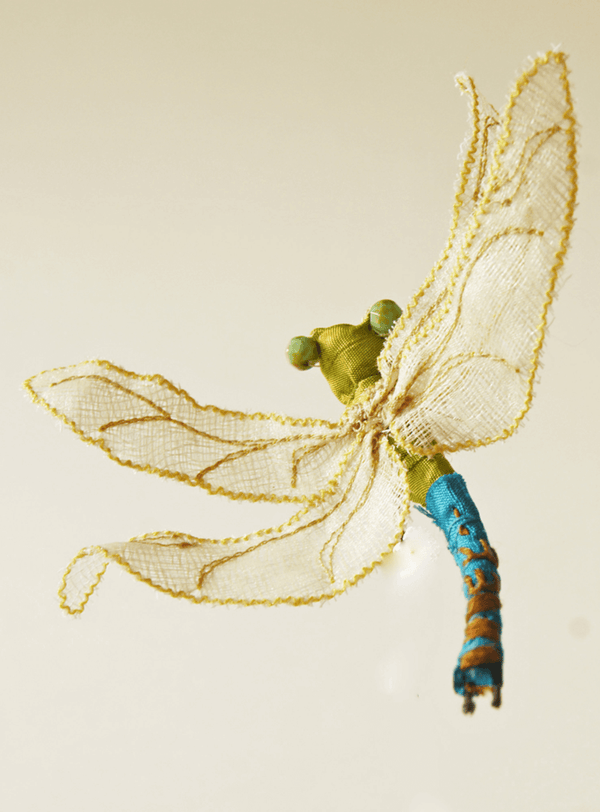
And there you have it, a butterfly to give or to keep!


Let me know in the comments below if this was useful. Are you going to make some butterflies?
For more sewing fun from fabric scraps, download your free moth pattern.
Click here to download your PDF moth pattern with instructions.
Leave a comment
Comments will be approved before showing up.
Also in News


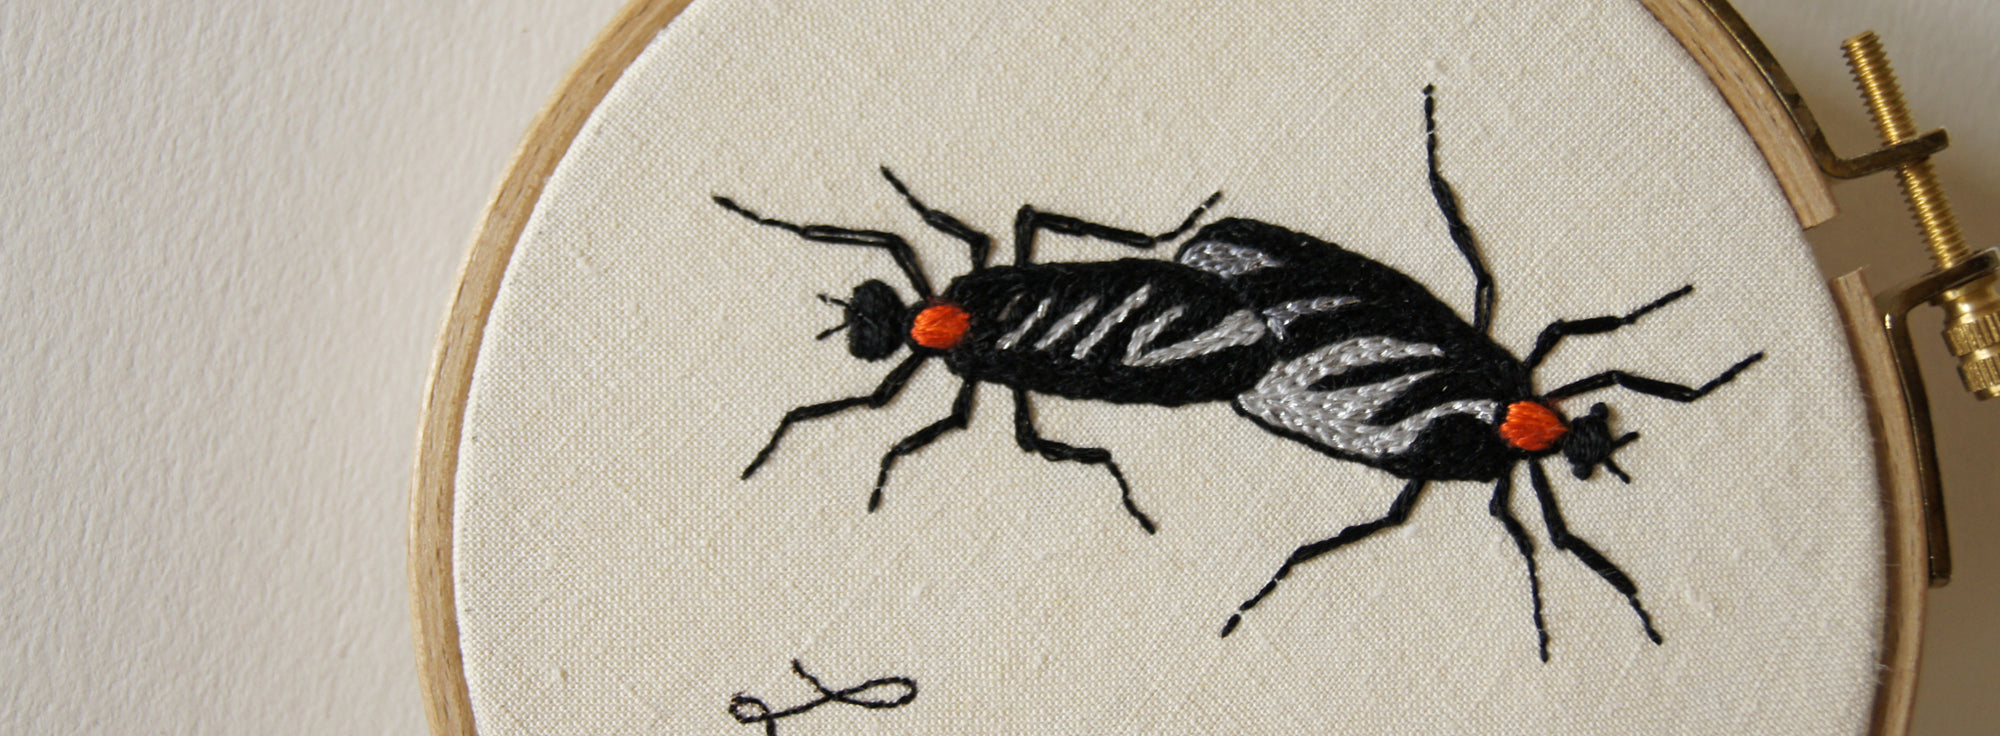
Lupercalia and lighthearted love bugs
Since many of us are nudged towards expressing our love through gifts in mid-February (admittedly, we can use all the gifts we can get, or give ourselves, these days) I thought it might be the moment to offer you a lighthearted embroidery pattern.
Read More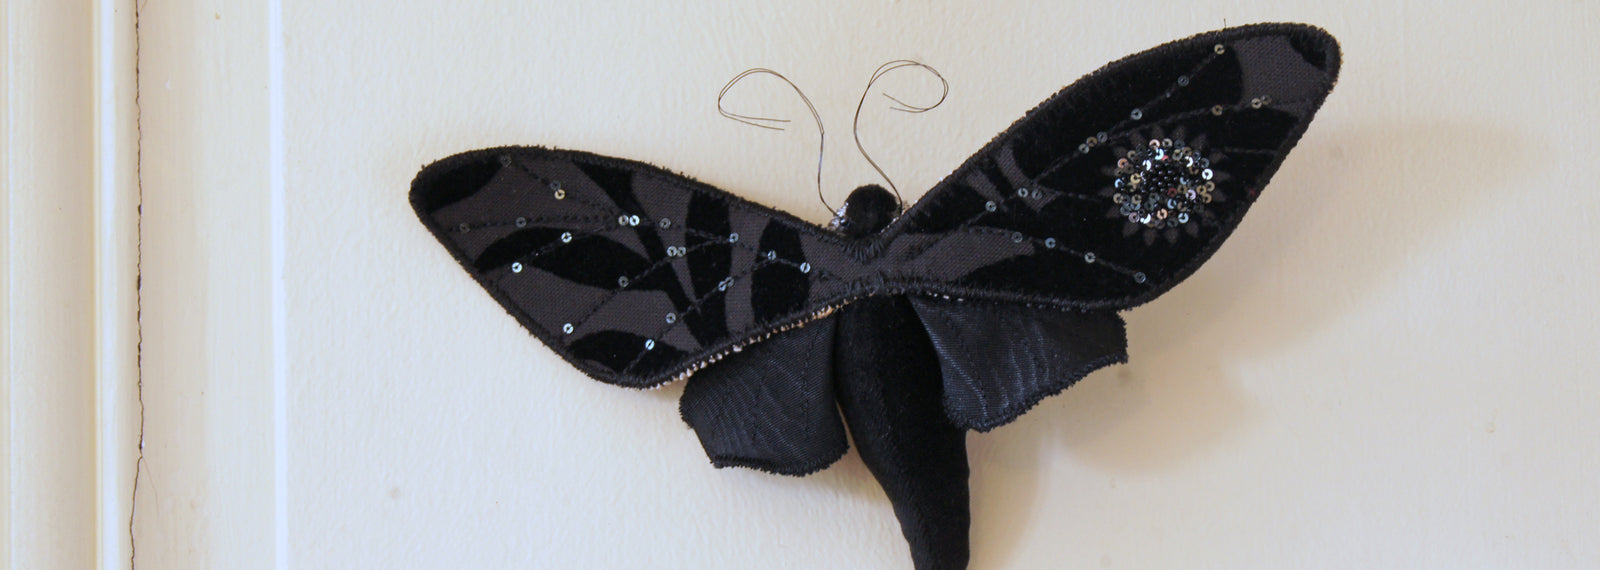

Tell & Show
A fear of messing up and wasting the viewers’ time came back each week, until I noticed that it felt fun to get on camera.