Your Cart is Empty
Slow Stitching
December 07, 2020 2 Comments
Every year, time seems to speed up in the fall and it’s a quick glide from Halloween to Christmas.
There’s no Thanksgiving in between to slow things down in France.
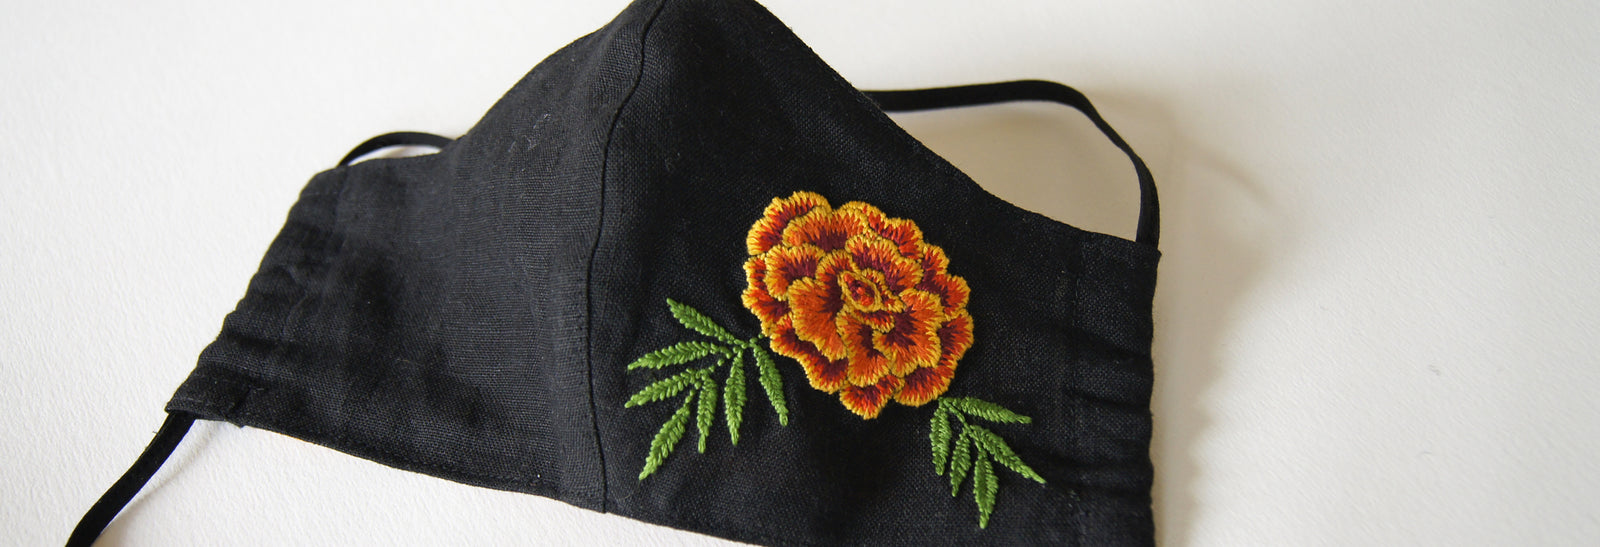
I had just finished a marigold embroidery to embellish a black linen mask I made for the colder weather. Marigold is October’s flower, my birthday month, but I didn’t finish until midway through the month…okay nearly November.
That’s really slow embroidery.

I had a vague idea of embroidering each month’s flower, on “useful” items such as aprons, tea towels, pouches or as hoop art.
Embroidering a flower-of-the-month project would take some planning, rather far in advance considering my snaillike pace in creating patterns and getting them embroidered.
Therefore, all I have to show you is my marigold in fiery fall hues and my project binder. Maybe you’d like to use this binder method for keeping track of your embroidery samples and projects.

The paper patterns (drawings) are stored separately in an envelope.
But the samplers contain much more information about the stitches used and the colors of floss, plus any mistakes or difficulties I need to look out for.
Here's the how:
• I used a small binder (9.5 x 6.5 in / 25 x 16.5 cm), since my sample embroideries are too small for a full-size binder. But you could also use loose rings, 1 inch or 1 ¼ inch diameter. (25 or 35mm)
• For the headers, I used colored Canson paper cut to 4 x 6.5 in / 10 x 16 cm and folded in half lengthwise. Cut your Canson paper (or other card stock) to the length of the short edge of your samples. If you have samples that are much too small, first sew them to a larger piece of cotton or linen, to fit into your chosen binder.
• Using a hole punch, punch two holes in the folded edge to line up with your binder rings. Then punch three holes along the other edge, one hole in the middle and the other two approx. 2 inches away on either side.

• To attach your samples, just fit the short edge of your cloth sample in between the two folded layers of Canson paper and using a long needle with thread (I used perle cotton) run a stitch up and down through the fabric and your punched holes on the topside and on the underside, so that your fabric is firmly secured to the header on both sides.

• You can write the names of the stitches and thread colors directly on the header.
I hope you find this useful. And that you can stitch faster than I can.
Let me know in the comments if you’d be interested in flower embroidery patterns. Garden flowers or wild flowers?
2 Responses
Tela Long
December 13, 2020
brilliant! i have been so overwhelmed with all the slow stitching/embroidery etc etc etc. now this, makes sense to me and gets me organized. thank you so much.
Leave a comment
Comments will be approved before showing up.
Also in News
Dear garden
February 22, 2021
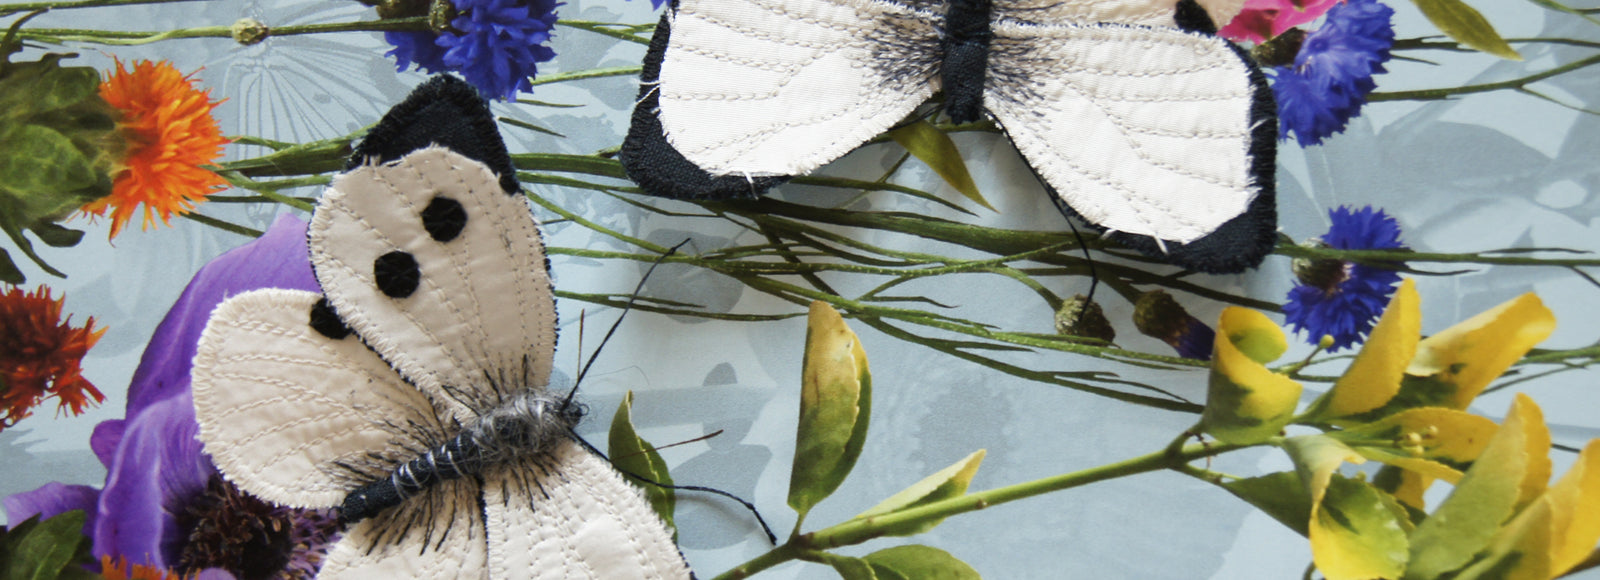
And today, she felt agile and unfettered.
No longer leaf-bound.
Lupercalia and lighthearted love bugs
February 12, 2021
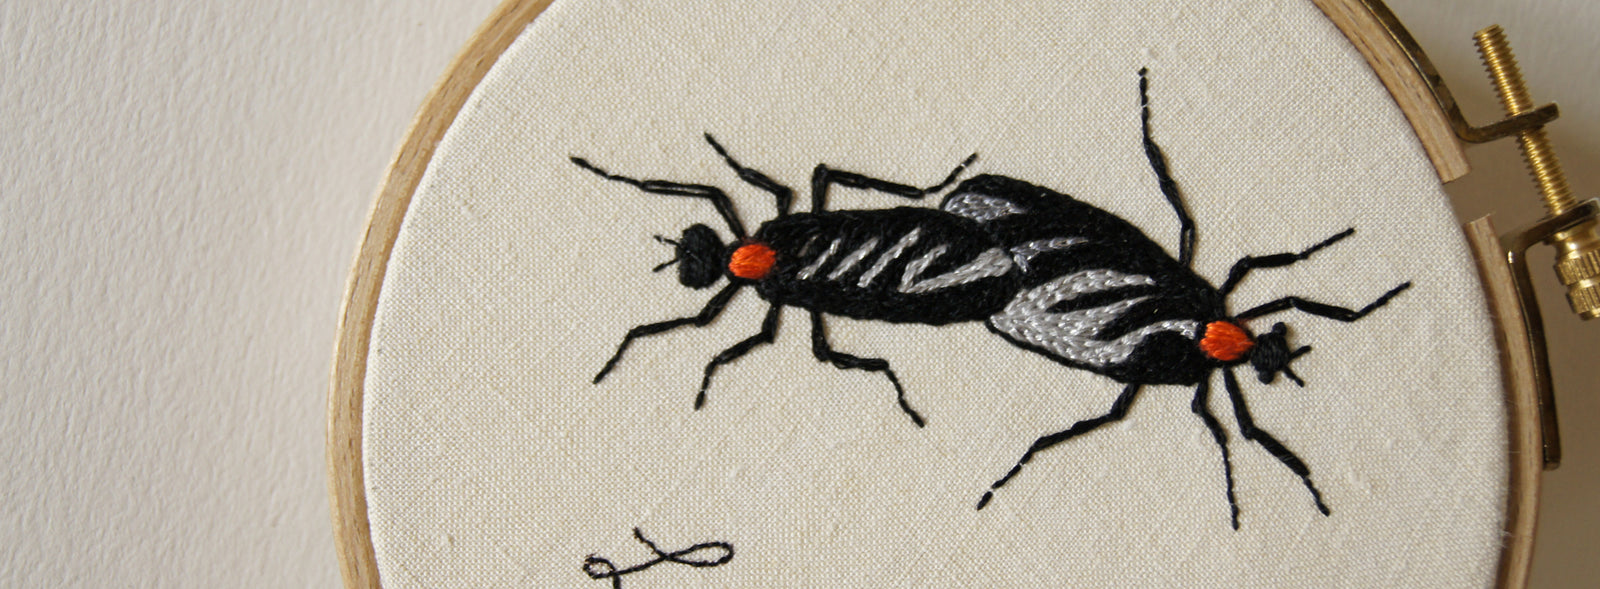
Since many of us are nudged towards expressing our love through gifts in mid-February (admittedly, we can use all the gifts we can get, or give ourselves, these days) I thought it might be the moment to offer you a lighthearted embroidery pattern.
Read More
Tell & Show
January 25, 2021
A fear of messing up and wasting the viewers’ time came back each week, until I noticed that it felt fun to get on camera.
Subscribe
Sign up to get the latest on sales, new releases and more …
Recent Articles
- Dear garden February 22, 2021
- Lupercalia and lighthearted love bugs February 12, 2021
- Tell & Show January 25, 2021
- Slow Stitching December 07, 2020
- The Sphinx by Edgar Allen Poe November 01, 2020
- Fabric Moth Tutorial Part 4 October 06, 2020
- Fabric Moth Tutorial Part3 October 06, 2020
- Fabric Moth Tutorial Part 2 October 06, 2020
- Fabric Moth Tutorial Part 1 October 06, 2020
- Bullies, butterflies and other beasts May 07, 2014
Tela Long
December 13, 2020
plus, my most favorite flower is Little Johnny Jump Ups *they look like miniature pansies. then, next, is the pansy …. so beauty and they have a lovely fragrance. be safe and be well. warmest regards, tela